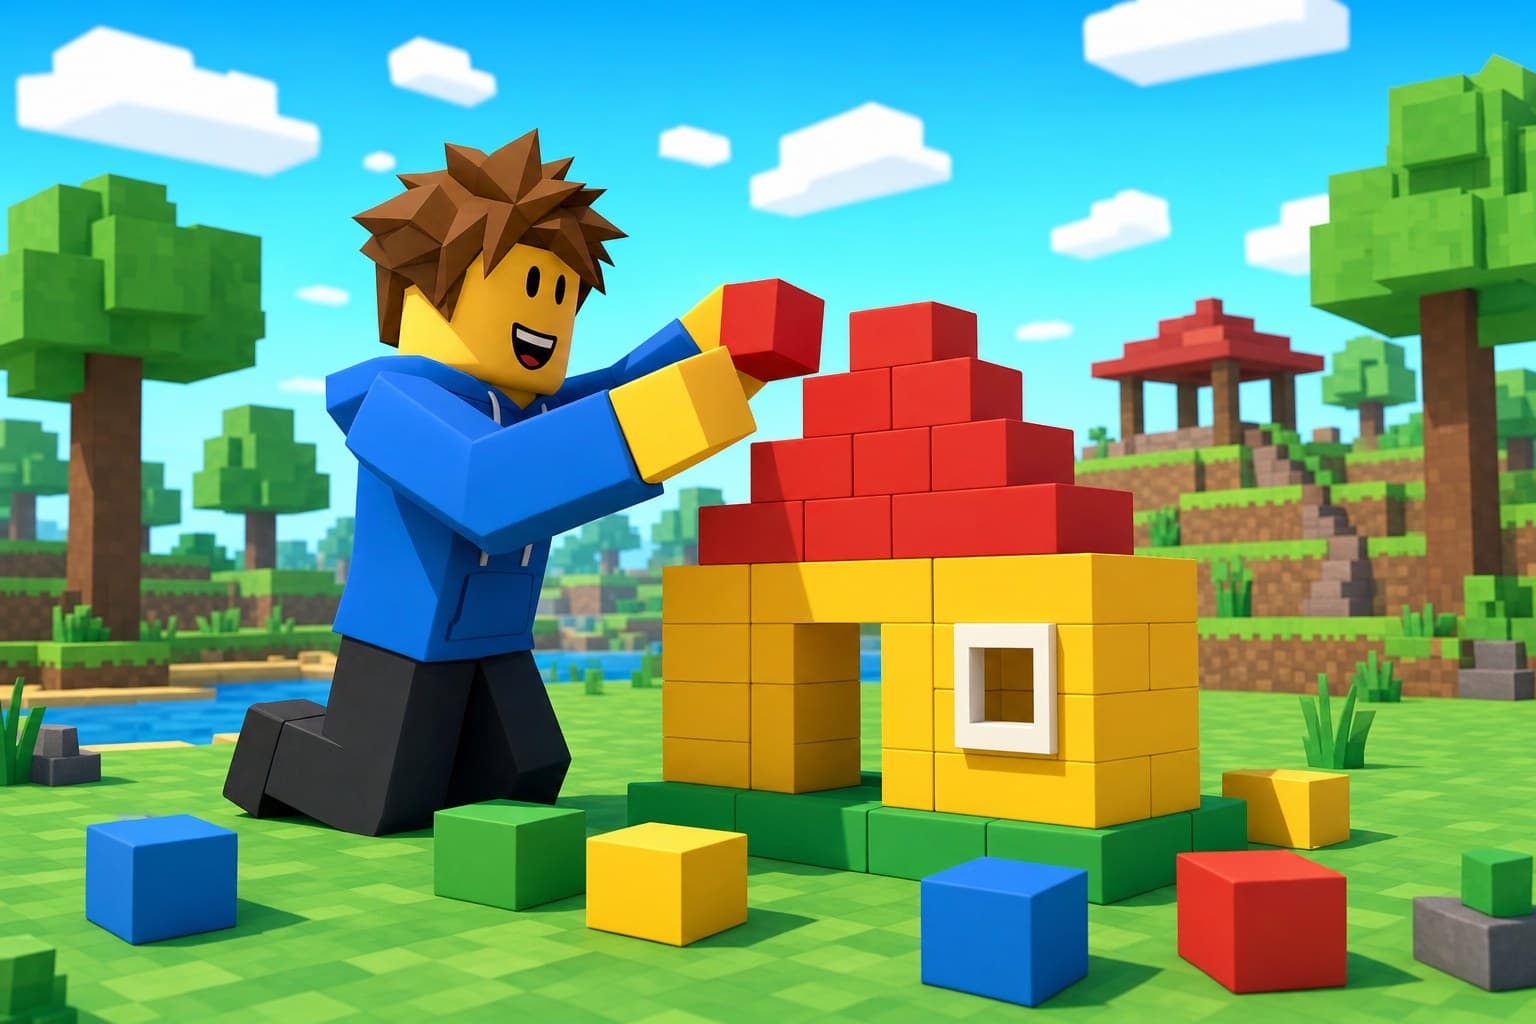
Have you ever wanted to build your own Roblox world instead of just playing in someone else's? Roblox Studio is the free tool creators use to do exactly that, and this tutorial keeps things simple — no coding, no complicated menus, just the basics you need to start building. By the end, you'll have made your very own little structure that you can walk around in!
What You'll Need
- Roblox Studio: Free to download from the Roblox Create page (ask a parent for help if you're not sure how to download it)
- A Roblox Account: You'll need one to save and open your project
- About 30-45 Minutes: Enough time to explore and build without feeling rushed
Opening Roblox Studio for the First Time
- Open Roblox Studio after it finishes installing
- Sign in with your Roblox account
- You'll see a screen full of templates — pick "Baseplate," which gives you a simple flat gray platform to build on
Think of the Baseplate like a big empty table where you get to build whatever you imagine.
A Simple Tour of the Screen
Roblox Studio might look busy at first, but there are really only a few main areas to know:
- The Big Middle Area (Viewport): This is where you actually see your world and everything you build
- Explorer (usually on the right): A list of every single thing in your game — think of it like a table of contents
- Properties (usually below Explorer): Shows details about whatever you've clicked on, like its color or size
- Toolbox: A library full of ready-made shapes and objects you can just drag into your world
You don't need to memorize any of this — you'll pick it up naturally just by clicking around and trying things.
Your First Block
Let's add your very first object:
- Click the Home tab at the top if it isn't already selected
- Click the Part button — this drops a plain gray block into your world
- Click on the block once to select it (you'll see colored handles appear around it)
Congratulations — you just created your first object in Roblox Studio!
Moving Your Block
- With your block selected, click the Move tool (it looks like arrows pointing in different directions)
- Colored arrows will appear on your block
- Click and drag any arrow to slide the block in that direction
Try moving your block up into the air, then back down. Getting comfortable moving things around is one of the most important building skills.
Resizing Your Block
- Select your block, then click the Scale tool
- Small cube handles will appear on the block's corners and faces
- Click and drag any handle to make the block bigger or smaller in that direction
Try turning your block into a long, flat platform, like a floor for a little room.
Changing the Color
Building feels a lot more fun once things have color:
- Select your block
- Look for the Color section in the Properties panel, or use the Color bucket tool in the Home tab
- Pick any color you like and click on your block to apply it
Try giving different parts of your build different colors to make them easy to tell apart.
Building a Tiny House
Now let's put these skills together into something real — a super simple one-room house:
- Create a flat, wide block and place it on the ground for your floor
- Create four thin, tall blocks and position one along each edge of the floor for walls
- Create one more flat block and place it on top of the walls as a roof
- Leave a gap in one wall (or make that wall slightly shorter) so you have a doorway
Don't worry if it's a little wonky — everyone's first build looks a little rough, and that's completely part of the fun!
Testing Your Build
- Click the big Play button near the top of the screen
- Your character will appear in the world you just built
- Use your arrow keys or WASD to walk around and explore your creation from the inside
- Click Stop when you're done exploring to go back to building
Walking through something you built yourself for the first time is a genuinely exciting moment — enjoy it!
Saving Your Work
Always save before you close Roblox Studio:
- Go to File in the top menu
- Click Save to Roblox to save your project to your account
- Give your project a name you'll remember
This way, you can come back and keep building on it anytime.
Learning to Undo Mistakes
One of the best things to know early on is that mistakes in Roblox Studio are almost never permanent:
- If something goes wrong, press Ctrl+Z (or Cmd+Z on Mac) to undo your last action
- You can undo multiple steps in a row if you need to go back further
- There's also a Redo button (or Ctrl+Y) if you undo something you actually wanted to keep
Knowing this button exists takes a lot of the pressure off — you can experiment freely, and if something doesn't look right, it's always just one click away from being fixed.
Working with the Toolbox
The Toolbox is one of the most fun parts of Roblox Studio because it's full of things other creators have made that you can use in your own world:
- Click the Toolbox tab to open it
- Type something into the search bar, like "tree," "car," or "chair"
- Browse the results and click any model you like to add it straight into your world
- Use the Move and Scale tools you already learned to position it exactly where you want
This is a great shortcut for adding detail to your builds without needing to construct every single object block by block yourself.
Fun Things to Try Next
Once you're comfortable with the basics, here are some easy next steps to keep practicing:
- Add furniture to your tiny house using small, differently shaped blocks
- Try the Toolbox to search for fun pre-made objects like trees or vehicles you can drop straight into your world
- Build a second room and connect it to your first one with a hallway
- Experiment with different colors and materials (check the Properties panel for a "Material" option) to make surfaces look like wood, brick, or grass
Conclusion: You're a Builder Now!
You just learned the real basics that every Roblox creator starts with — placing, moving, resizing, and coloring objects. It might seem simple, but these exact skills are the foundation of every amazing Roblox game you've ever played. Keep experimenting, keep building, and don't worry about making mistakes — every builder's first project looks a little rough around the edges. When you're ready for a bigger challenge, our guide on creating your first full Roblox game is a great next step.