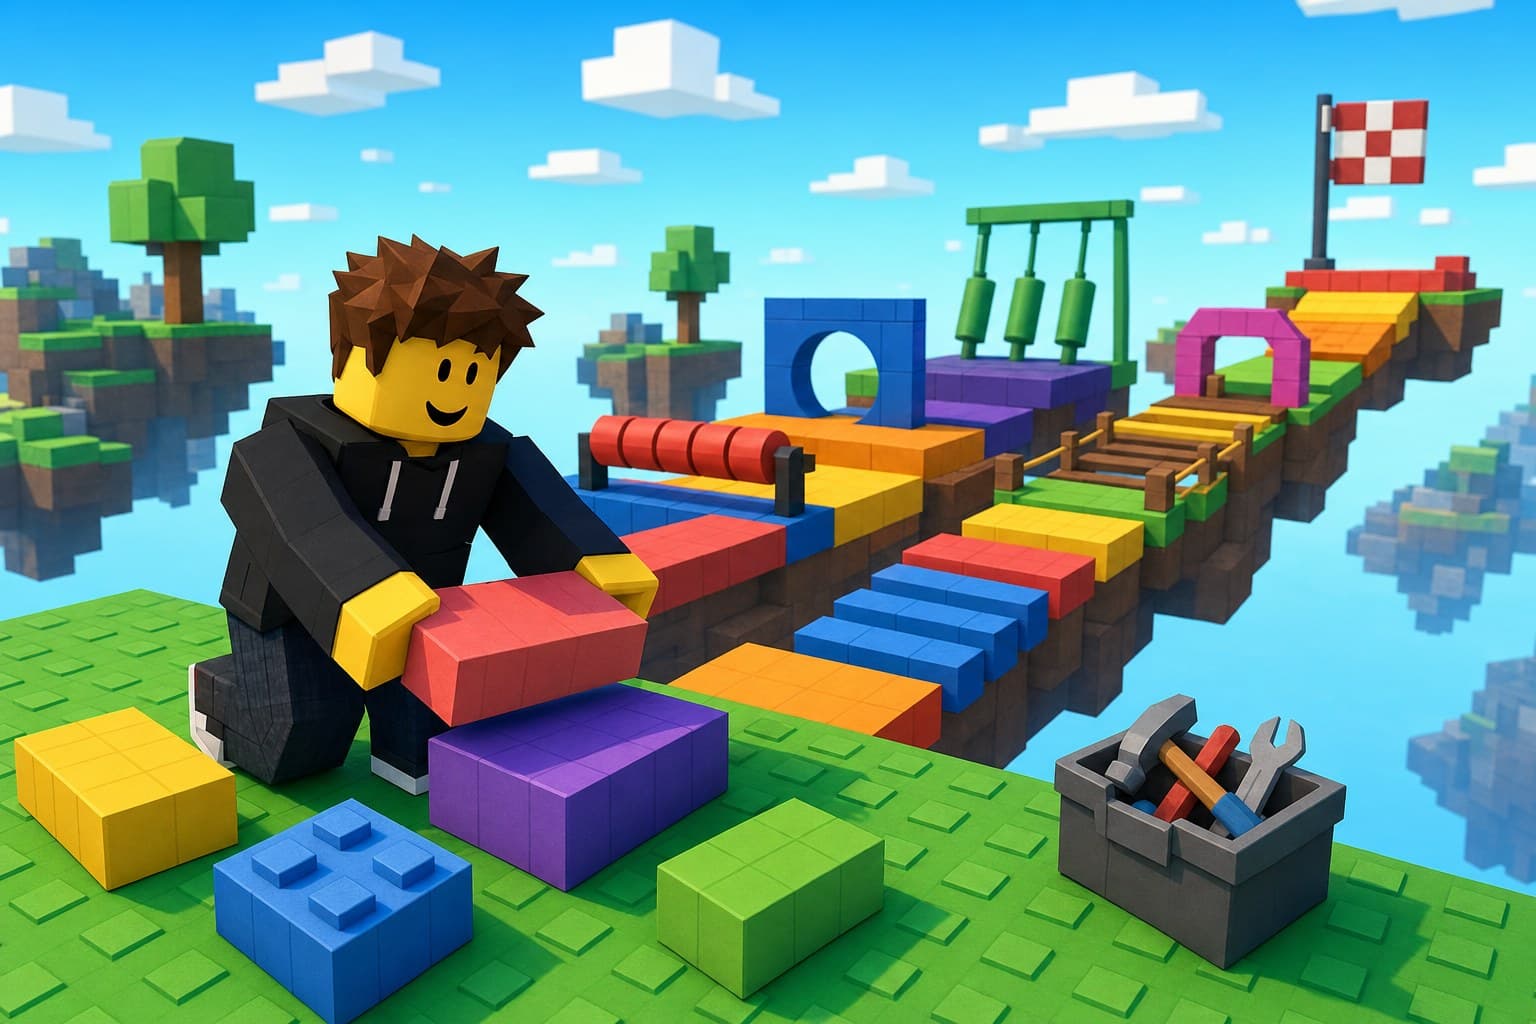
Ever played a Roblox game and thought, "I could make something like this"? You're absolutely right — and it's more achievable than you might think! This guide walks you through building your very first game: a classic Obby (obstacle course), which is one of the best starting projects because it teaches you Roblox Studio's core tools without requiring any coding experience. By the end, you'll have a real, playable, publishable game with your name on it.
What You'll Need to Get Started
- Roblox Studio: Free to download from the Roblox Create page
- A Roblox Account: You'll need one to publish and test your game
- A Little Patience: Your first game won't be perfect, and that's completely normal — every developer's first project is a learning experience
Step 1: Install and Open Roblox Studio
- Head to the Roblox Create page and download Roblox Studio
- Once installed, open it and sign in with your Roblox account
- Choose "Baseplate" from the template options — this gives you a simple flat gray platform to build on, which is the perfect blank canvas for an Obby
Step 2: Get Familiar with the Studio Interface
Before building, take a moment to explore the main areas of the screen:
- Viewport: The large central area where you see and build your game in 3D
- Explorer: A panel listing every object in your game, organized like a file tree
- Properties: Shows and lets you edit details about whatever object you have selected
- Toolbox: A library of pre-made models, parts, and assets you can drag into your game
Don't worry about memorizing all of this right away — you'll get comfortable with it naturally as you build.
Step 3: Build Your Starting Platform
- In the Home tab, click "Part" to insert a simple block
- Resize it using the Scale tool to create a wide, flat starting platform
- Move it to a sensible starting position using the Move tool
- This will be where players spawn, so make it clearly distinct — try a bright color using the Properties panel's "Color" option
Step 4: Add Your First Obstacles
Now for the fun part — designing challenges! Start simple:
- Insert another Part and resize it into a small platform
- Position it a short jump away from your starting platform
- Repeat this a few times, gradually increasing the gap or adding gaps players need to jump across carefully
- Try varying platform sizes — smaller platforms are harder to land on, which naturally increases difficulty as your course progresses
A great beginner Obby has 8-12 obstacles that get progressively trickier, so you don't need to go overboard on your first attempt.
Step 5: Add Some Variety
Once you're comfortable with basic platforms, try adding different obstacle types to keep your course interesting:
- Moving Platforms: Use the Toolbox to search for "moving platform" models, or create your own with a simple script (more on that below)
- Color-Coded Danger Zones: Make certain parts red and set them to reset the player on touch — a classic Obby staple
- Narrow Bridges: Long, thin platforms that test precision rather than jump distance
- Spinning Obstacles: Rotating parts that players need to time their jumps around
Step 6: Make Danger Parts Actually Dangerous
To make red "lava" or "spike" parts send players back to the start when touched, you'll need a small script:
- Select the dangerous part in the Explorer panel
- Insert a new "Script" object into it
- Add this simple code:
local part = script.Parent

part.Touched:Connect(function(hit)
    local humanoid = hit.Parent:FindFirstChild("Humanoid")
    if humanoid then
        humanoid.Health = 0
    end
end)
- This script detects when a player touches the part and resets their character, sending them back to their last checkpoint
Don't worry if scripting feels intimidating at first — copying and adapting small snippets like this is exactly how most Roblox developers start out.
Step 7: Add Checkpoints
Nobody wants to restart an entire Obby from the very beginning after every mistake. Add checkpoints using SpawnLocation parts:
- Insert a "SpawnLocation" part from the Toolbox or Insert menu at a few key points along your course
- Place one roughly every 3-4 obstacles
- When a player reaches a checkpoint, it automatically becomes their new respawn point if they fall or touch a hazard
Step 8: Add a Finish Line
Give players a satisfying goal to reach:
- Build a distinct final platform at the end of your course
- Add a sign, a different color scheme, or a fun structure to make it feel like a real finish line
- Optionally, insert a script that displays a "You Win!" message when a player touches the finish part
Step 9: Test Your Game
- Click the "Play" button in the Home tab to test your Obby yourself
- Walk through every obstacle to make sure jumps are actually possible (it's easy to accidentally make something too hard while building in edit mode)
- Adjust any platforms that feel unfair or oddly placed
Playtesting is one of the most important parts of game development — don't skip it, even if you're eager to publish!
Step 10: Publish Your Game
- Go to File > Publish to Roblox
- Give your game a name and a short, appealing description
- Choose a thumbnail (Roblox can auto-generate one, or you can upload your own later)
- Click Publish — congratulations, your game is now live!
Sharing and Improving Your Game
Once published, share the link with friends and family to get your first players and feedback. Pay attention to where people get stuck or frustrated — that's valuable information for improving your course. Most successful Roblox developers publish an early version and keep refining it based on real player feedback rather than trying to make everything perfect before release.
Adding Polish: Sound and Lighting
Once your core Obby works from start to finish, a little polish goes a long way toward making it feel like a real game:
- Insert a "Sound" object into your finish part and upload or select a short victory jingle to play when players win
- Adjust the Lighting settings (found in the Explorer under "Lighting") to try different times of day or moods — a dusky orange sky can make a course feel much more atmospheric than the default bright daylight
- Add simple background music by inserting a Sound object into Workspace and setting it to loop
None of this is required for your game to work, but small touches like these are often what separates a forgettable Obby from one players actually remember.
Understanding Roblox's Age and Content Guidelines
Before publishing, it's worth knowing that Roblox reviews and moderates published content, and games are expected to follow the platform's Community Standards — no inappropriate content, no misleading names or thumbnails, and no attempts to exploit other players. For a straightforward Obby like the one you just built, this generally isn't something to worry about, but it's good practice to get familiar with these guidelines as you build more ambitious games down the road.
Common Beginner Mistakes to Avoid
- Making obstacles too hard too soon: Ease players in with a few simple jumps before ramping up difficulty
- Forgetting checkpoints: Long stretches without a checkpoint can frustrate players into quitting
- Skipping playtesting: What looks easy while building can feel very different when actually playing
- Overcomplicating your first project: A simple, well-polished Obby beats an ambitious, unfinished game every time
Conclusion: You're a Roblox Developer Now!
Take a moment to appreciate what you just did — you built and published a real, playable Roblox game! That's a genuine accomplishment, and the skills you practiced here (using Studio's tools, basic scripting, and playtesting) are the exact same foundation professional Roblox developers build on every day. From here, try experimenting with new obstacle types, add background music, or explore basic scripting further to bring even more of your ideas to life. Your next game — and the one after that — will only get better from here.